Longarm Quilting Process
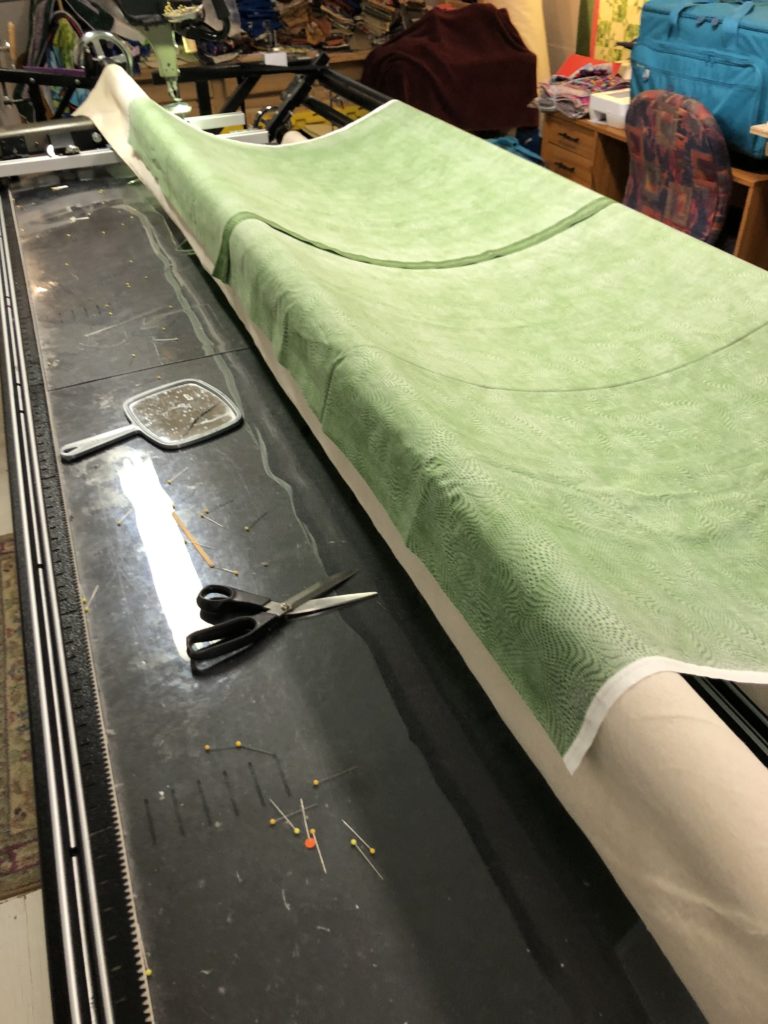
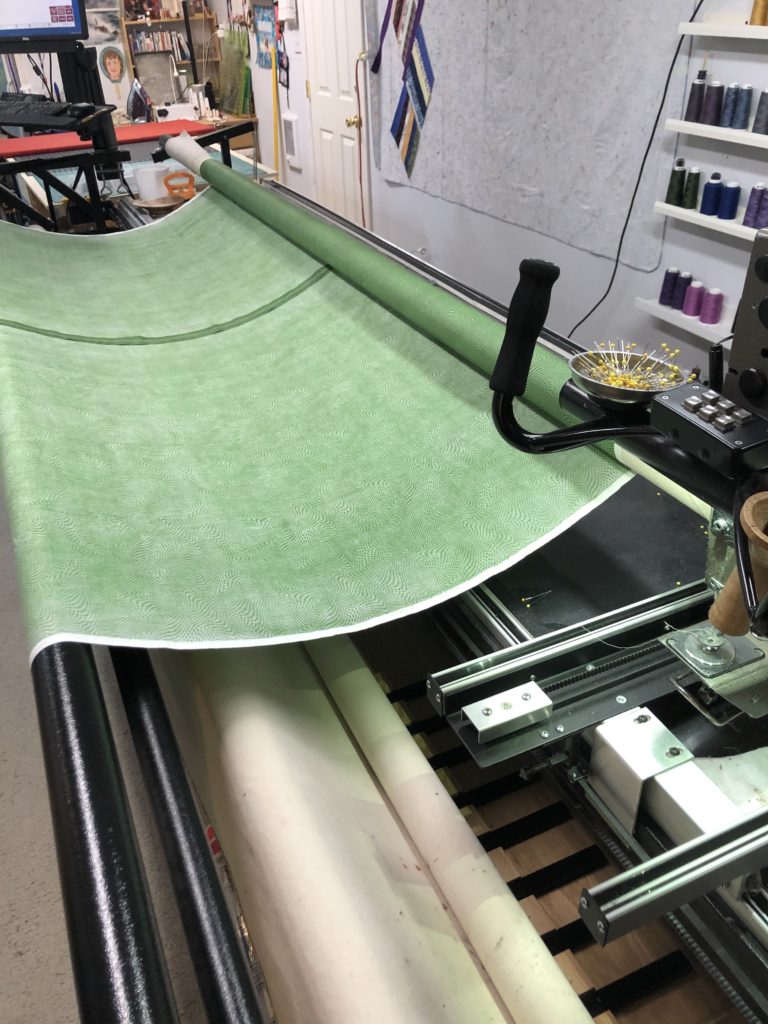
The process begins by draping the take-up leader over the back of the roller and spreading the back, right side down, along the leader.

The back is then pinned in place, working from the center out. Pins are initially spaced several inches apart, similar to basting.
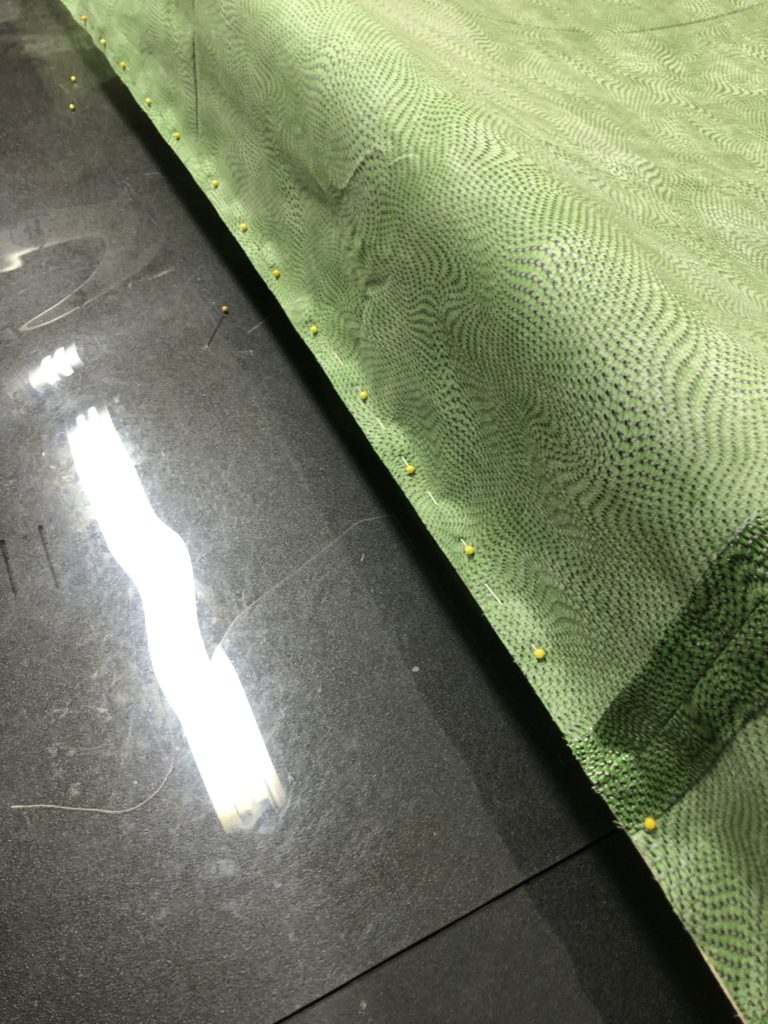
More pins are added, to fully secure the back to the leader.
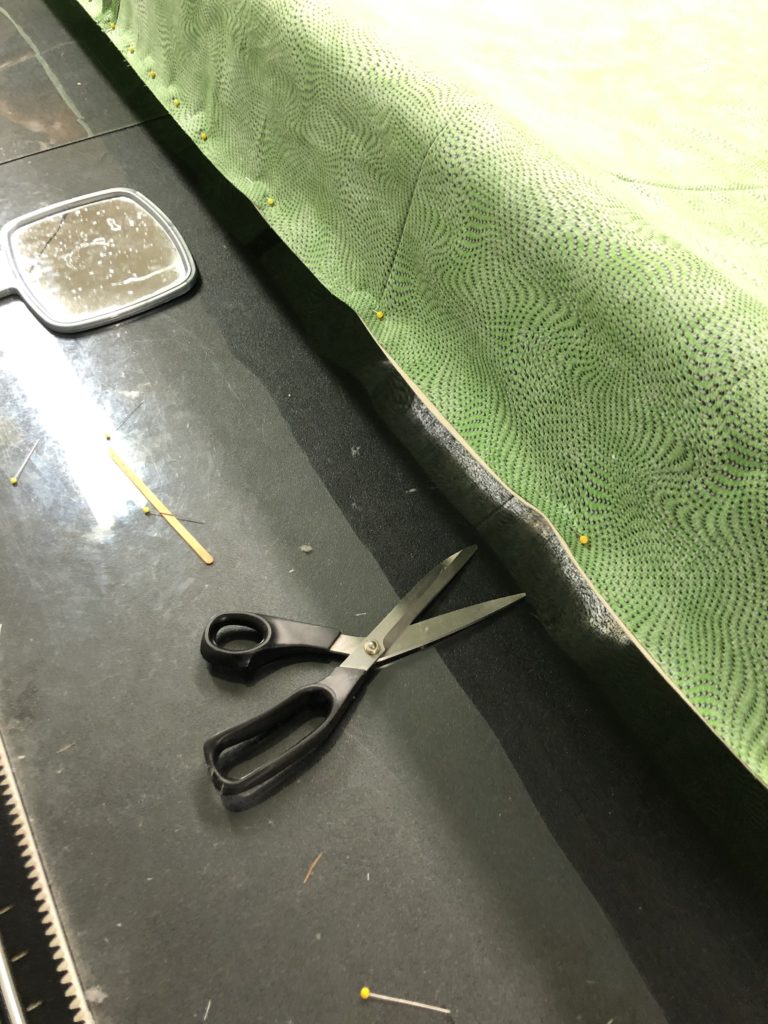
Basting is repeated on the other side.
The second side is pinned from the middle to the end, to avoid the ends of the pins that are already in place. They hurt.

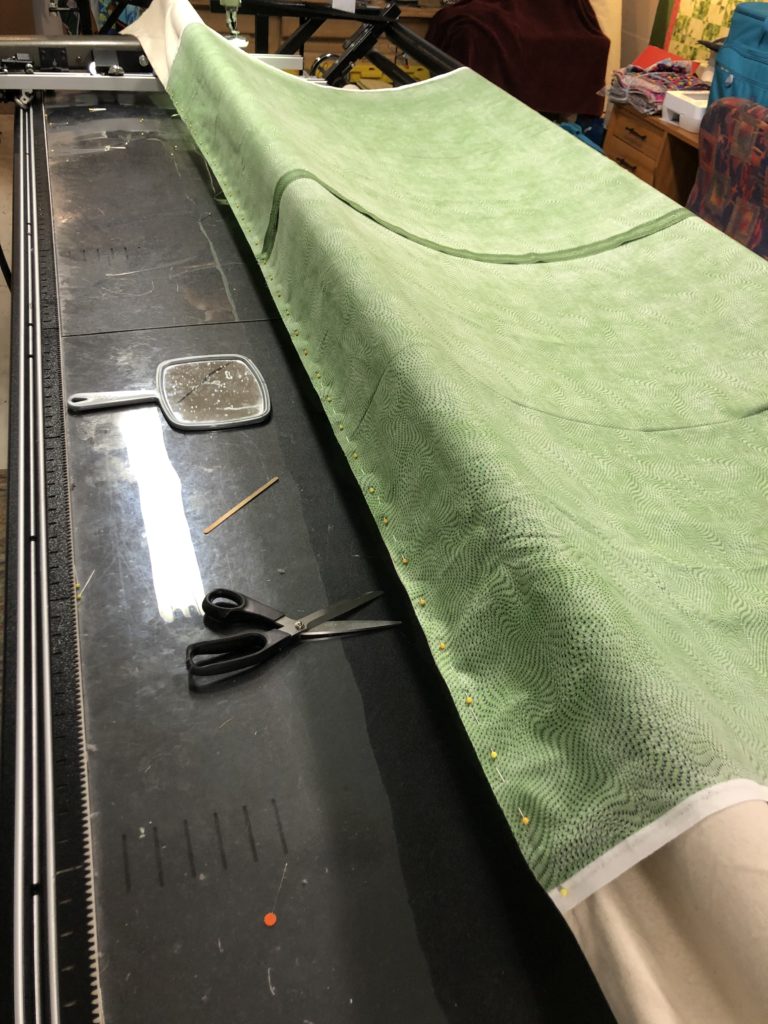
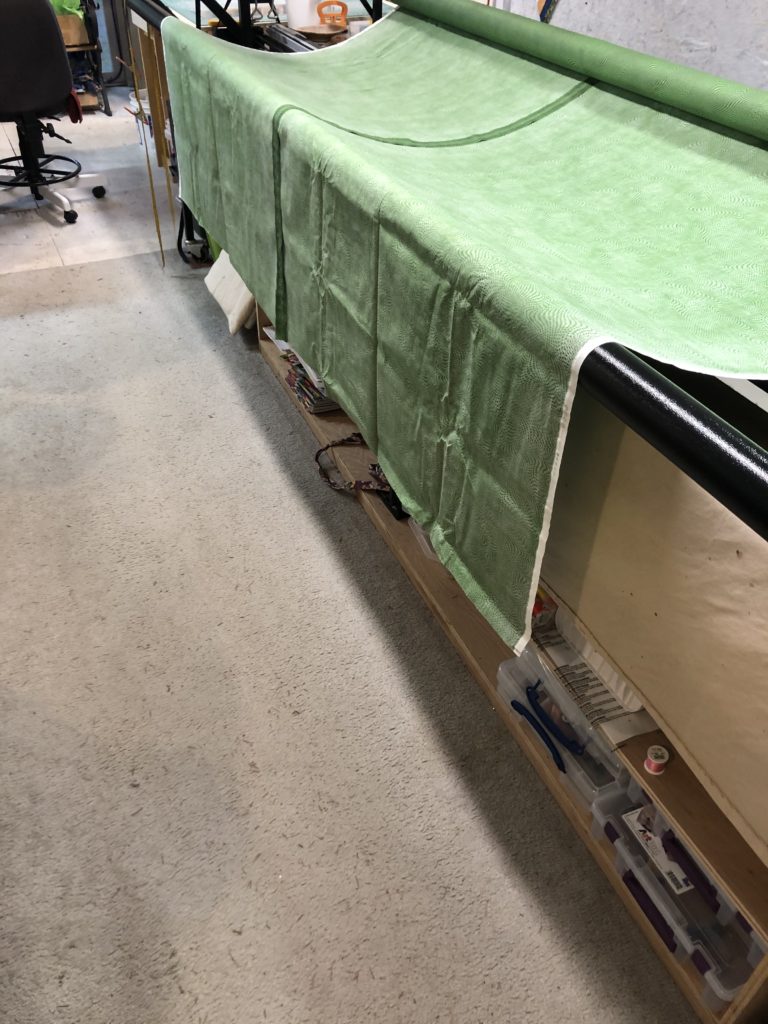
The pinned back is then pulled towards the front of the machine, so the other end can be pinned.
The backing is rolled onto the take-up roller, until the free end is about even with the feed roller’s leader.
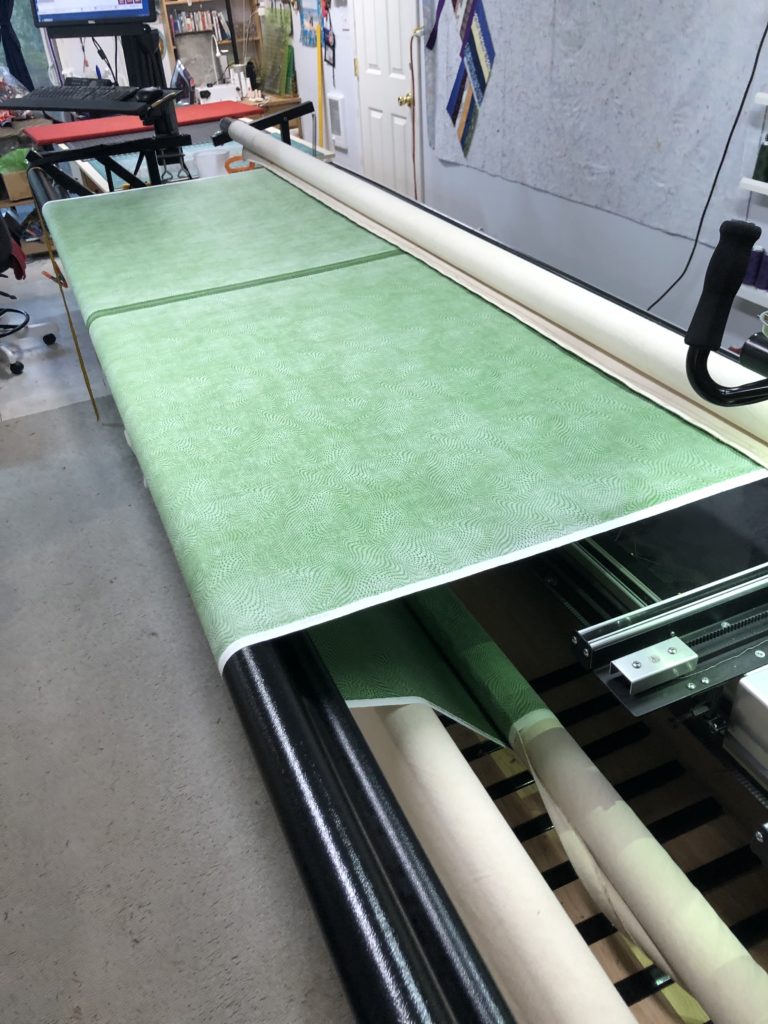
This side is basted and pinned the same way that the other side was.

Then, the material is rolled onto the feed roller, ready for batting placement.
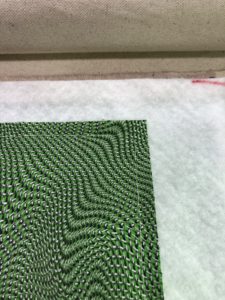
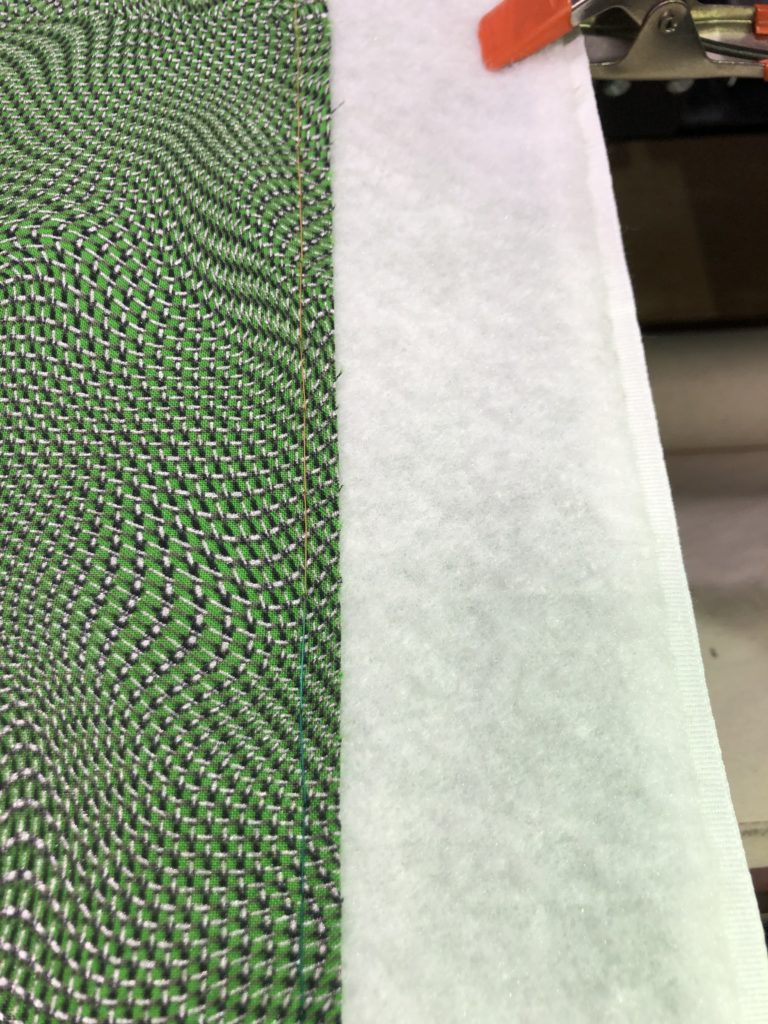
Batting is cut and placed on the back.
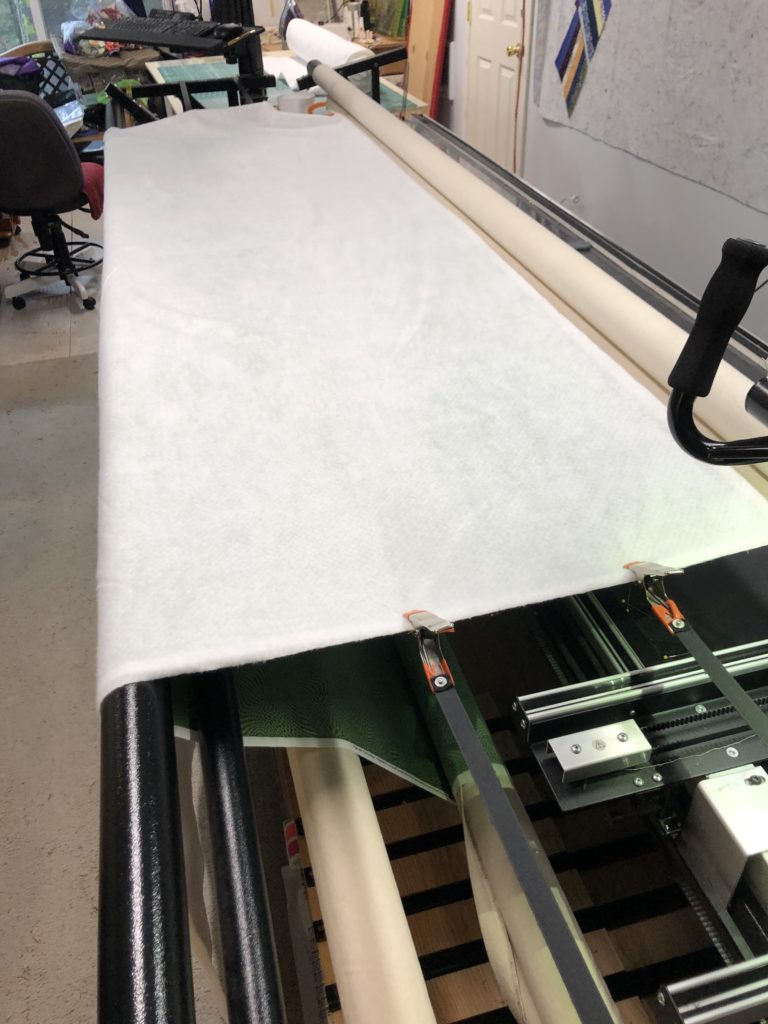
The side clamps have been added, to keep the back smooth and to hold the batting in place.
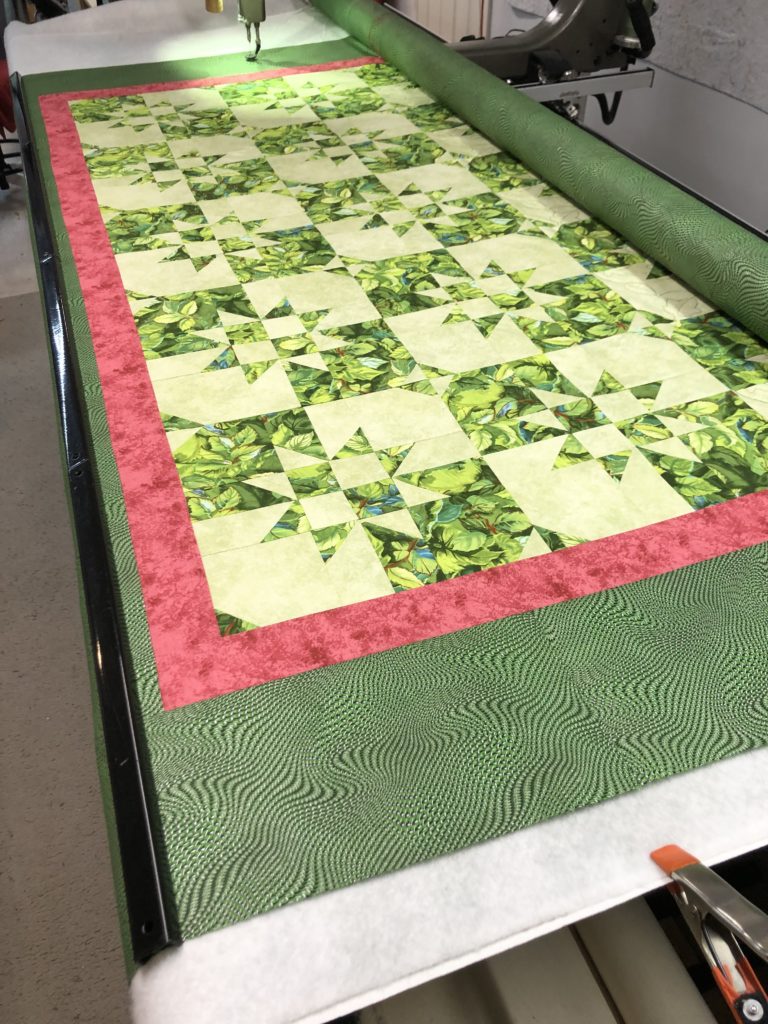
Next, the top is positioned.
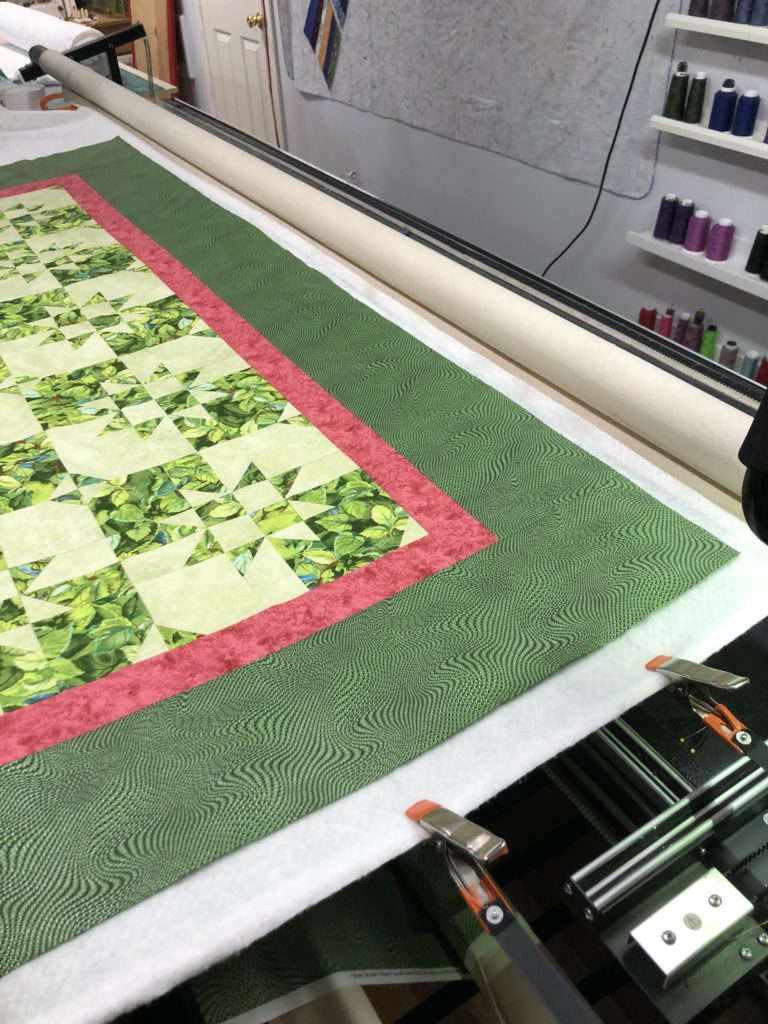
Care is taken to line the edge of the top up parallel to the take-up roller. This assures that the quilting will be parallel to the edges of the quilt. The top is basted in place along the leader edge and along the clamp edges.

This keeps the top from pulling in as the quilting is done.
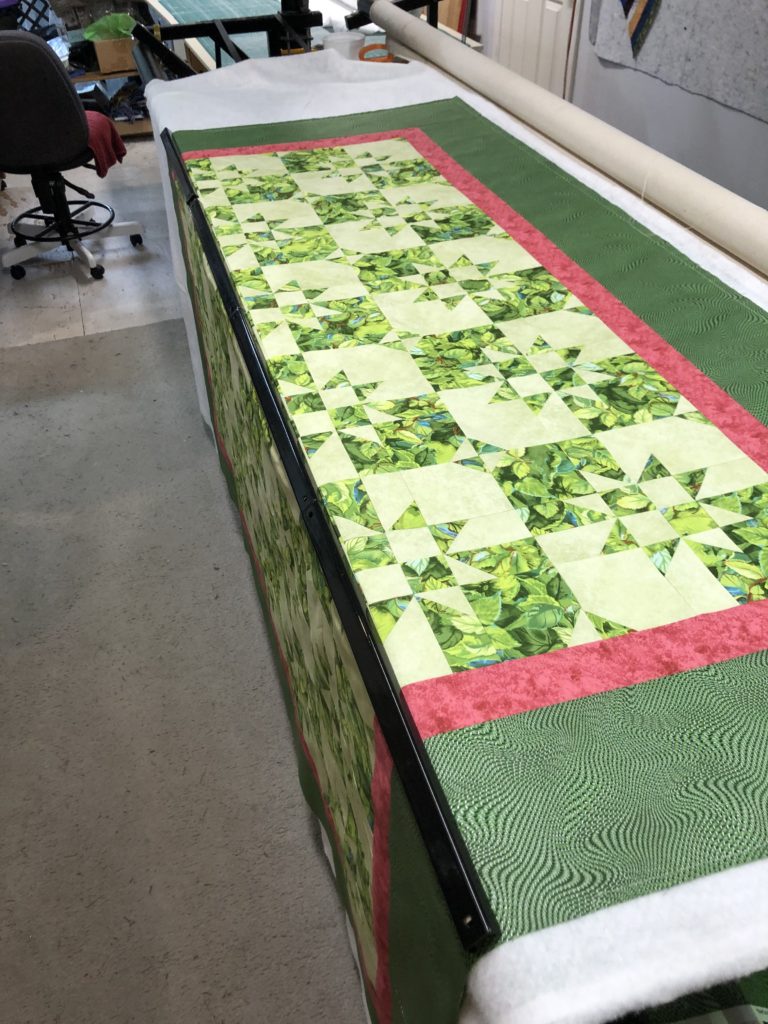
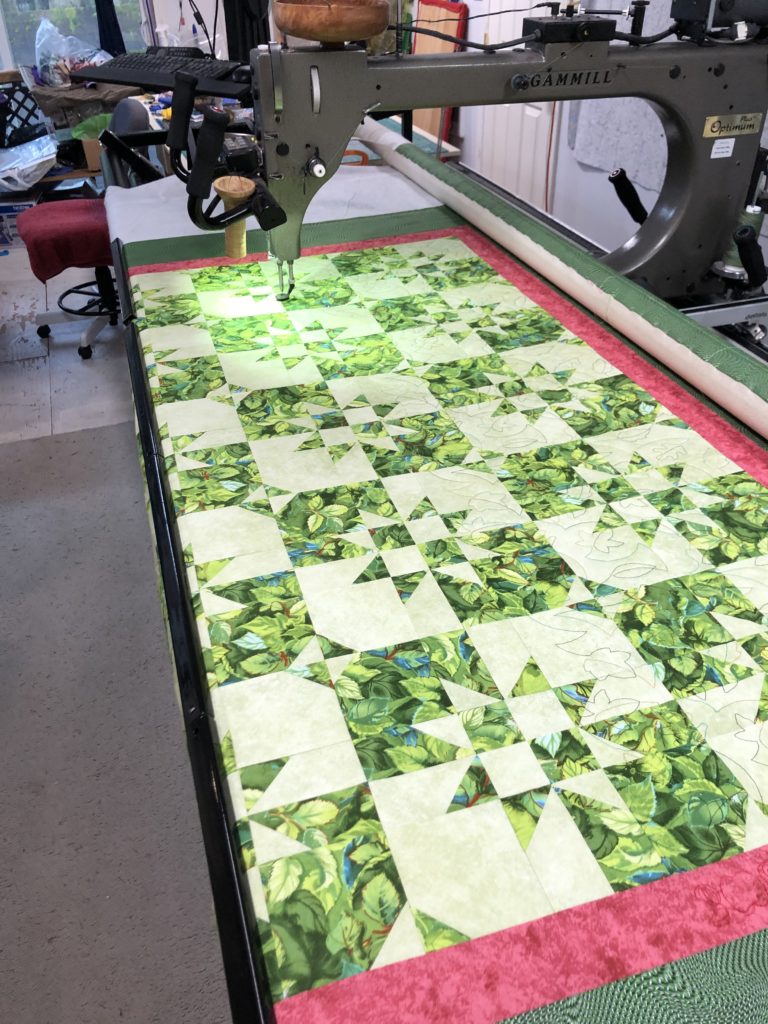
Magnets are used along the remaining edge to keep the top from pulling up as the quilting is done. Now, we are ready to do some quilting. Working with the customer, we decide what designs to use, where, and what color thread(s) to use.
This quilt is being made for HUGS, the charitable arm of the Covington Quilters Guild, which means that I get to make the decisions. I’ll be doing one pattern in the middle, one in the inner border which wraps around the corners, another in the outer border that does not wrap, and a final design in the corners.
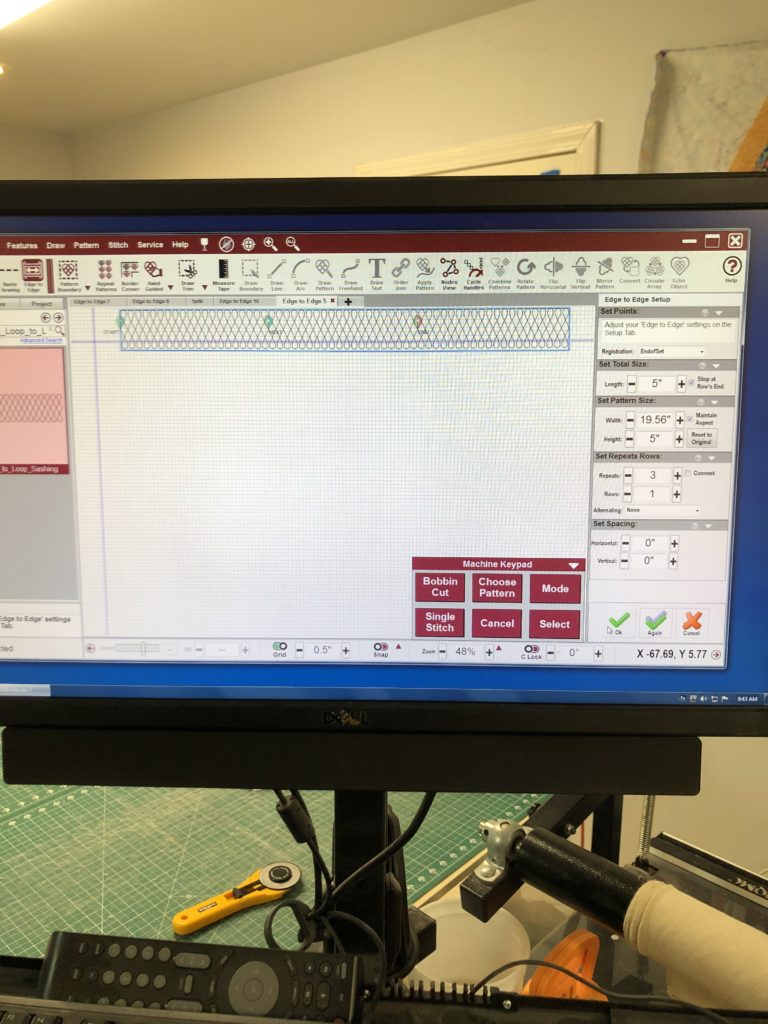
Here is a view of the monitor where the first border area has been defined and the pattern selected.
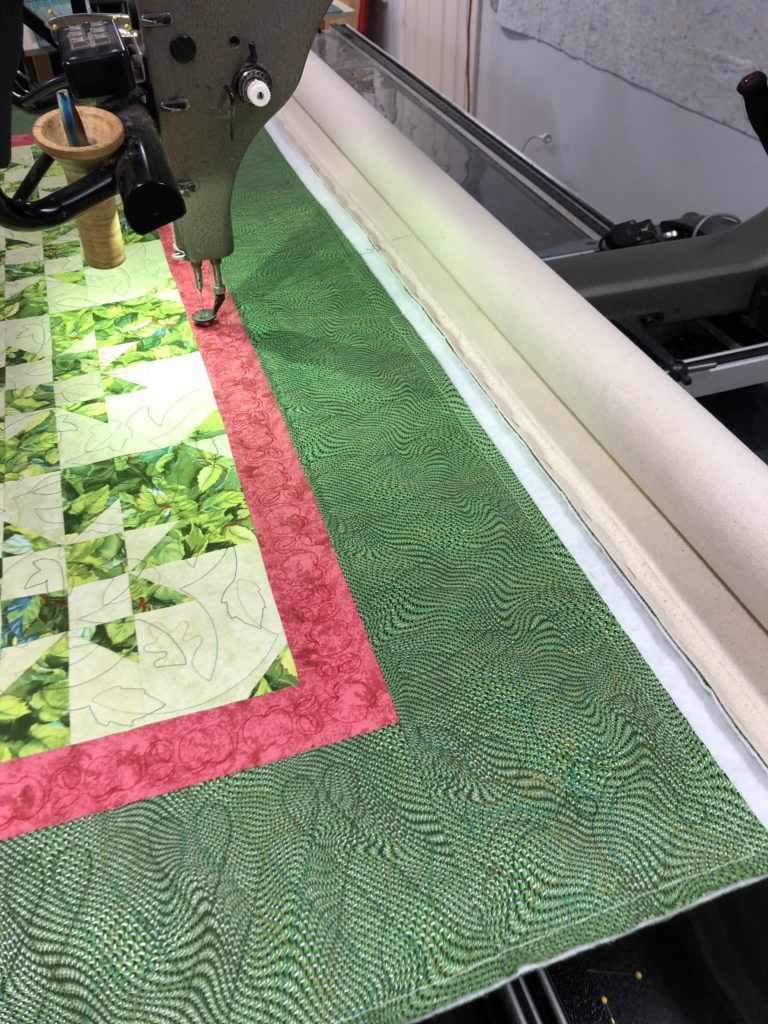
Here’s the machine off and running.

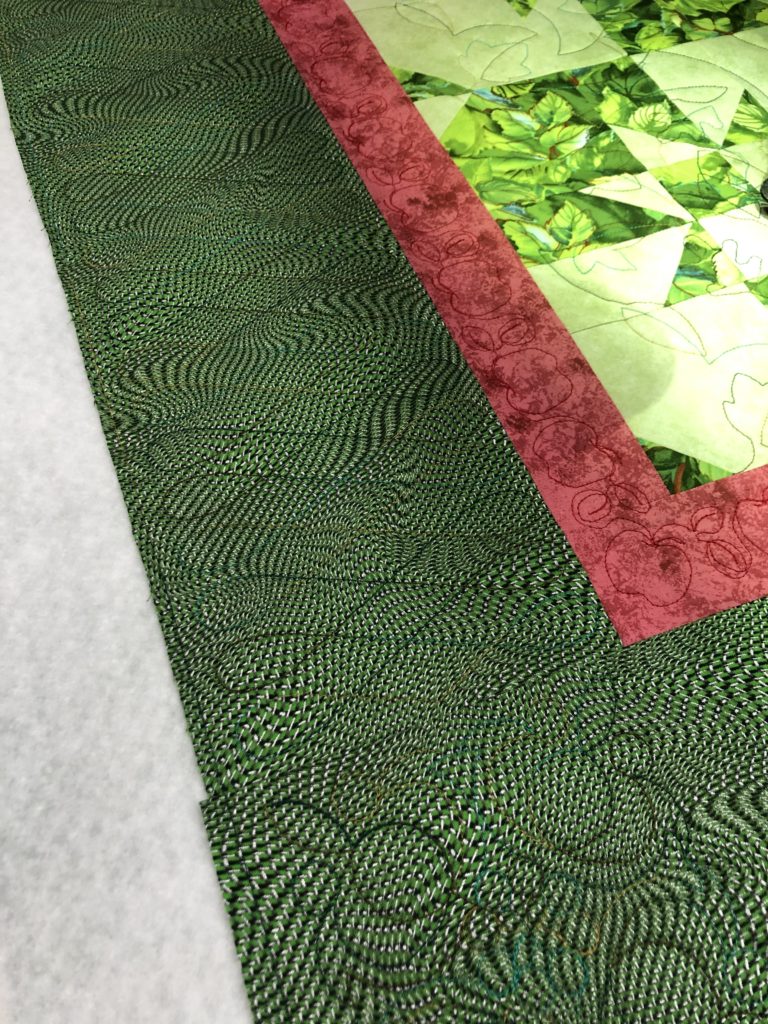
And. here’s the border completed.

Here’s the corner completed.
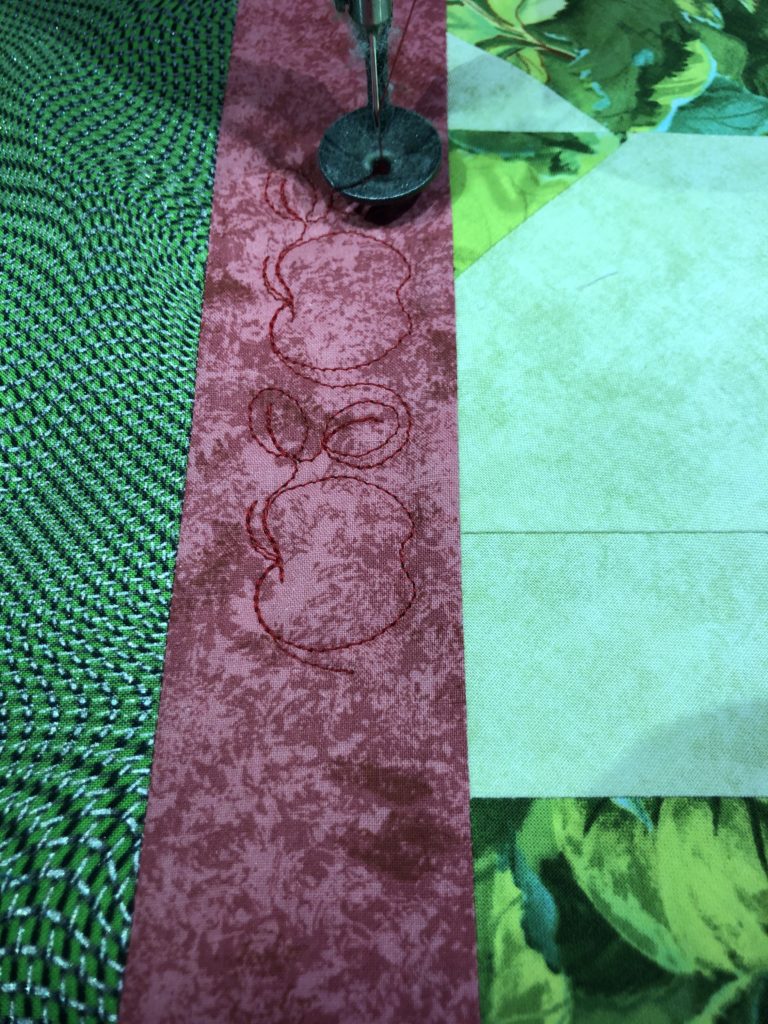
The same design is used in all 4 corners. The other two corners aren’t done until the center is completed and the other edge rolled into position. Here’s what is going in the inner border.
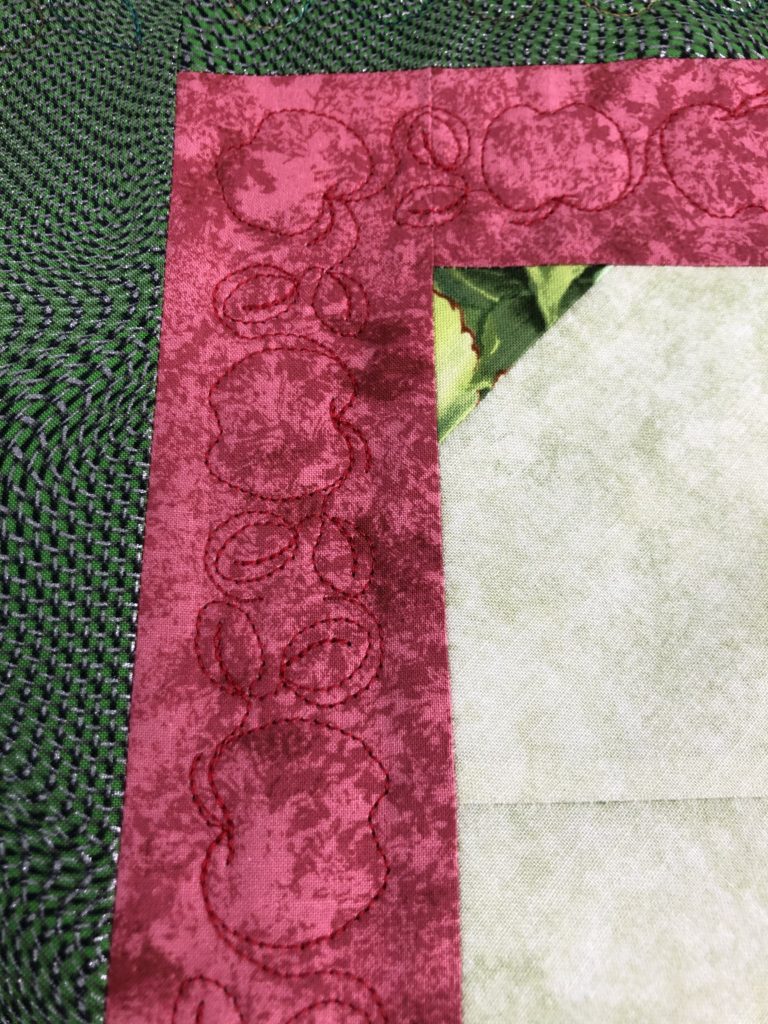
Here’s how the pattern goes around the corner.
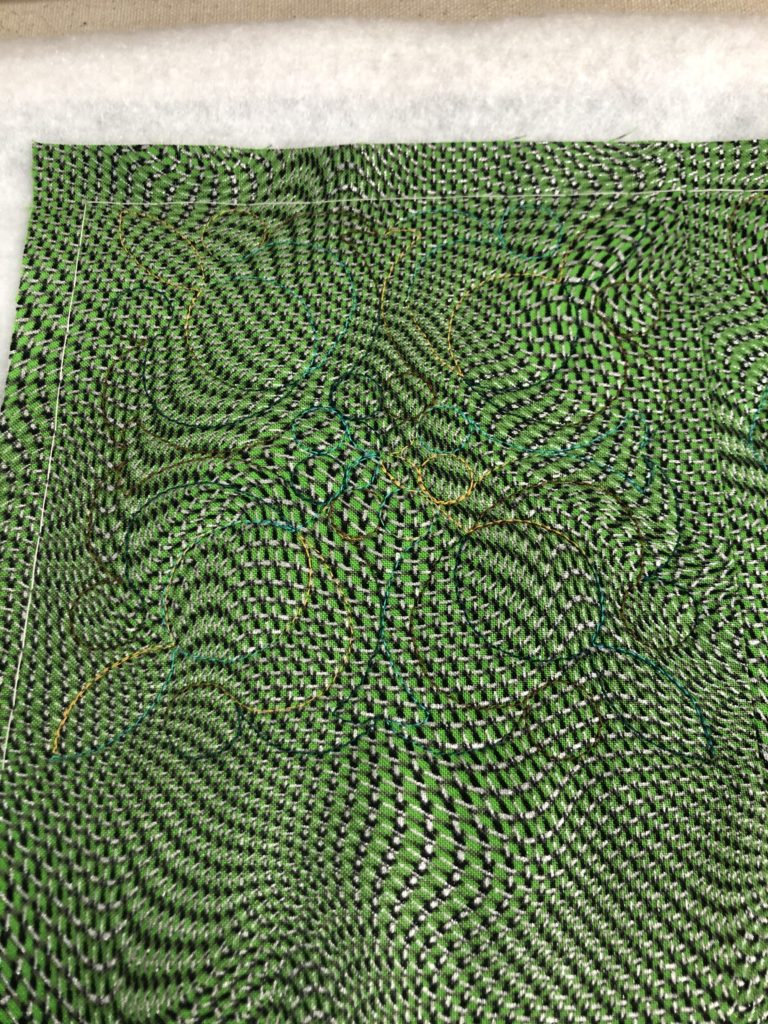
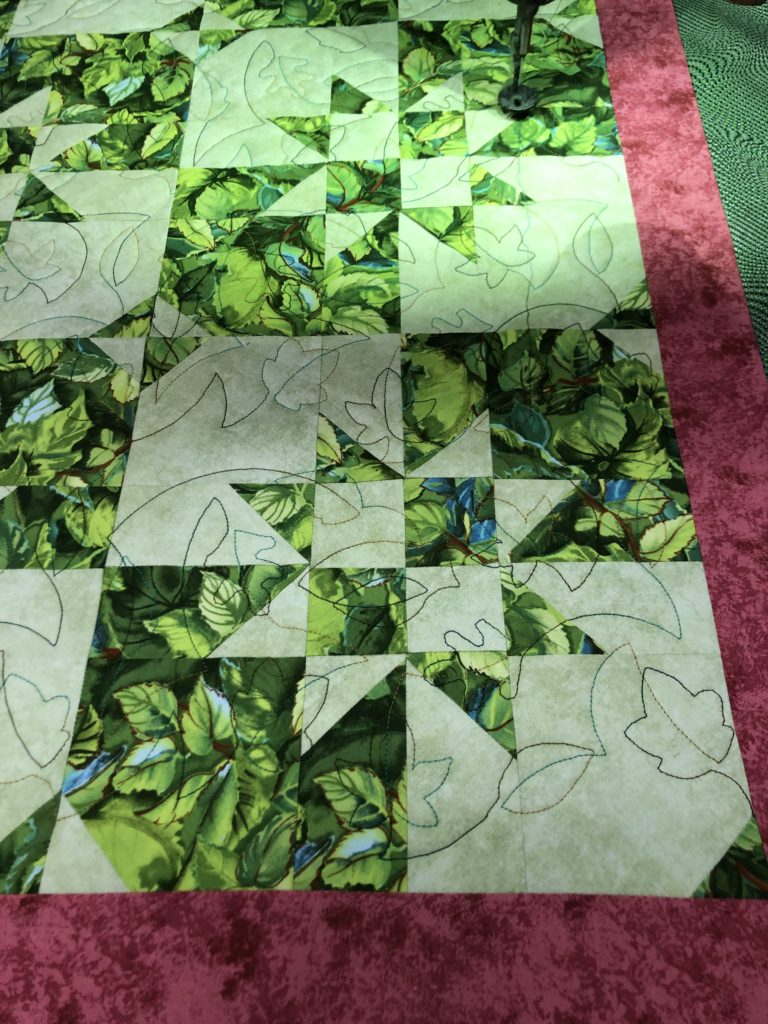
Here’s what’s going in the middle.

The first row is done. Now for the second row.
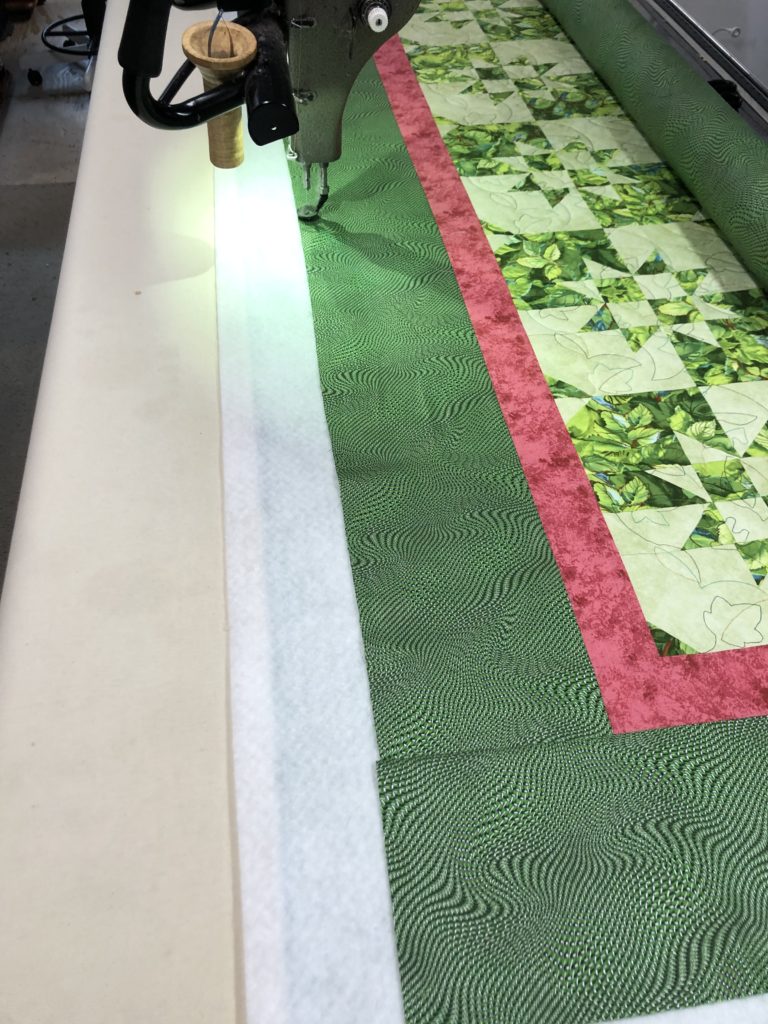
Once the second row is complete, the quilted part is rolled onto the take-up roller, so the next part of the quilt can be quilted.
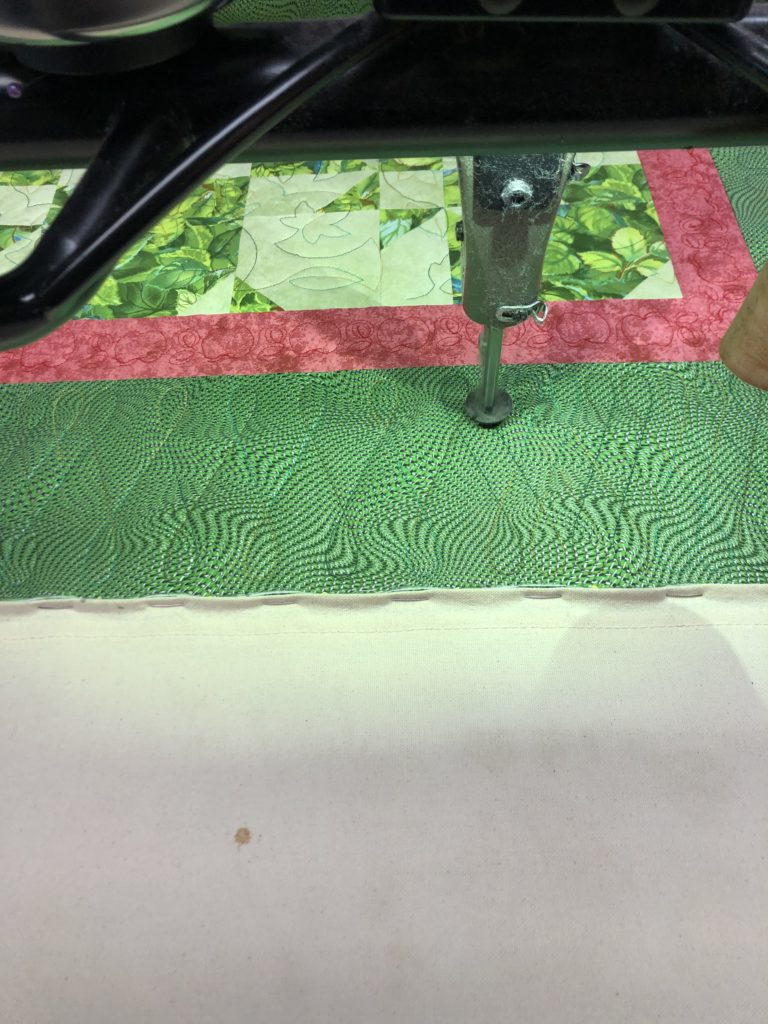
More basting, to keep the top in place.
A little later, and the center is completely quilted.
On to the borders on the bottom edge. The quilt is rolled some more, and the bottom (or right in this case) edge is basted.
Bottom borders have been quilted using the same designs as the top (left, in this case) edge.
The quilt has been removed from the machine, trimmed along the edges that have been quilted, and remounted. The inner and outer borders along the top edge have been quilted.
Quilting the last border. Here, you might be able to see that I accidentally trimmed an edge that I wasn’t supposed to trim.
I had to pin the quilt through all three layers, as close to the edge as I could. The quilting ended up as close to the finished edge of the quilt as it did on the other 3 edges, though.
Speaking of ending up, here’s the quilt after completing the quilting, dismounting, and trimming.
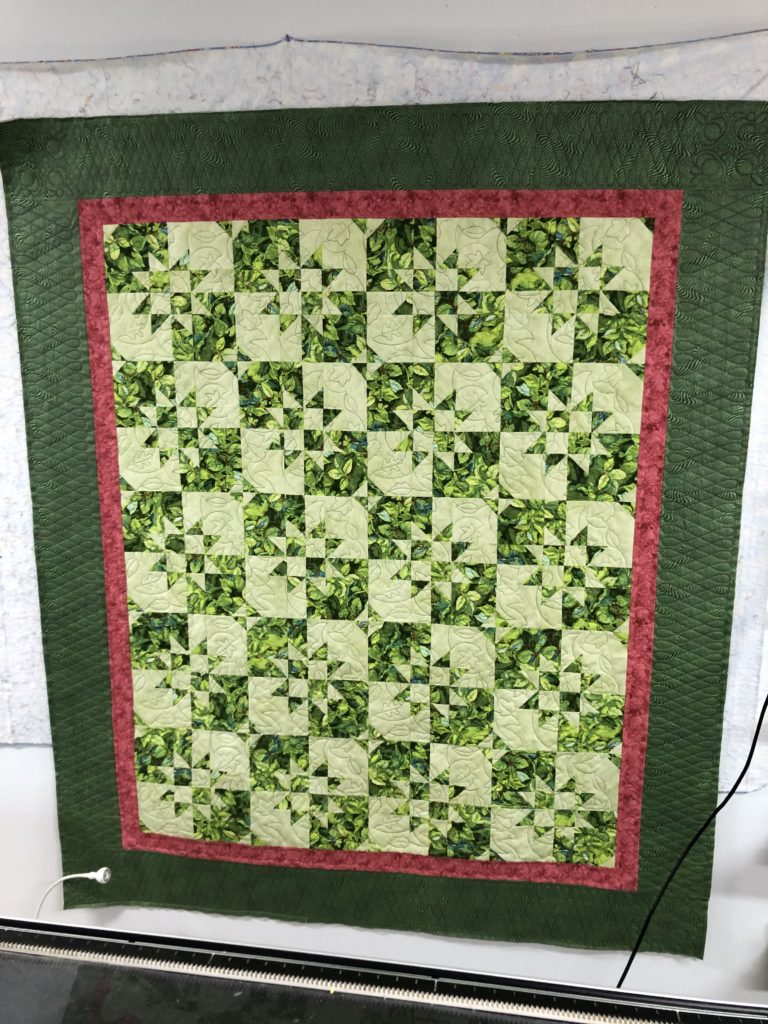
All that is left to do is the binding and labeling. That is outside my skill set, though, and not part of what I do for charity quilts.
Hope you enjoyed the behind the scenes view.